Preliminary Remark #
This article assumes you have already read this writeup on Unknowncheats by user harakirinox. This article was also originally formatted for Unknowncheats, so some details and explanations of certain parts are left out.
Introduction #
Writing macros is boring and using them is (theoretically) unreliable, so why not instead replace them with a more unreliable pathfinding system. In this article I will detail how I implemented a pathfinding system into AutoScav without any memory reading or writing. Making this project yourself will probably take more time than just writing the macros manually for each spawn so this is only really a novelty. Instead of C++, I opted for Python. If you don’t know Python, don’t get scared as most of what I will show is very readable without any Python knowledge.
Obtaining player position and view #
Thanks to BSG (and user FragingSquad for bringing it to attention), EFT’s screenshot function includes the player’s position and view in screenshot names, allowing us to easily obtain our player’s position. EFT formats their screenshots as shown below.
YYYY-MM-DD[HOUR-MINUTE]_pos_view
Looking into the code that drives the screenshot system, we notice three important keys.
- The variable transform is equal to the main camera’s transform
- The transform’s position is passed to the screenshot name
- The transform’s localRotation is passed to the screenshot name
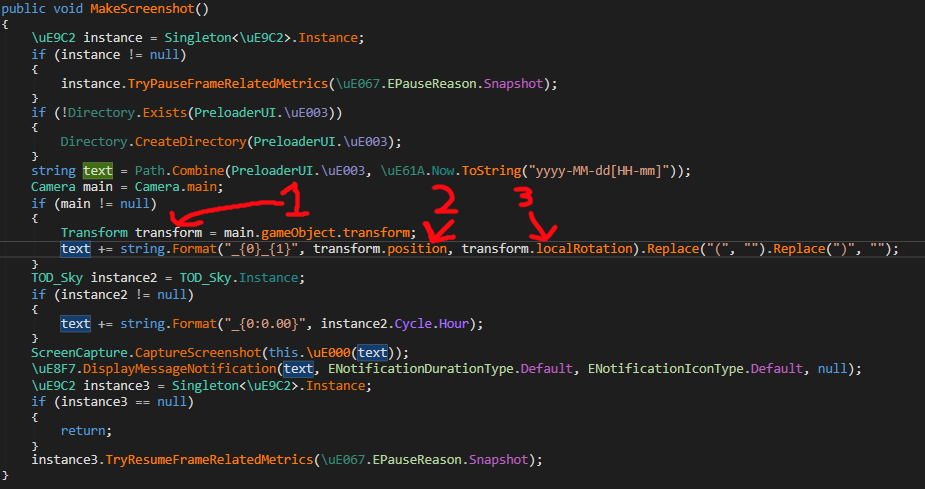
Reading the position is trivial as we know it is stored as a Vector3, but reading the localRotation is not what it looks like at first glance.
Looking at the unity documentation we see localRotation is in fact stored as a quaternion.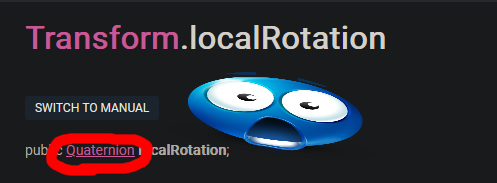
from scipy.spatial.transform import Rotation
def QuaternionToAngle(quat):
    rot = Rotation.from_quat(quat)
    rot_euler = rot.as_euler('yzx', degrees=True)
    #Convert from -180 to 180 to 0 to 360
    if rot_euler[0] < 0:
        rot_euler[0] = 360 + rot_euler[0]
    return rot_euler[0]
I only return the Y angle as that’s all I really care about for this project. Now that we have the ability to get our player’s position and view angles, we can move on to:
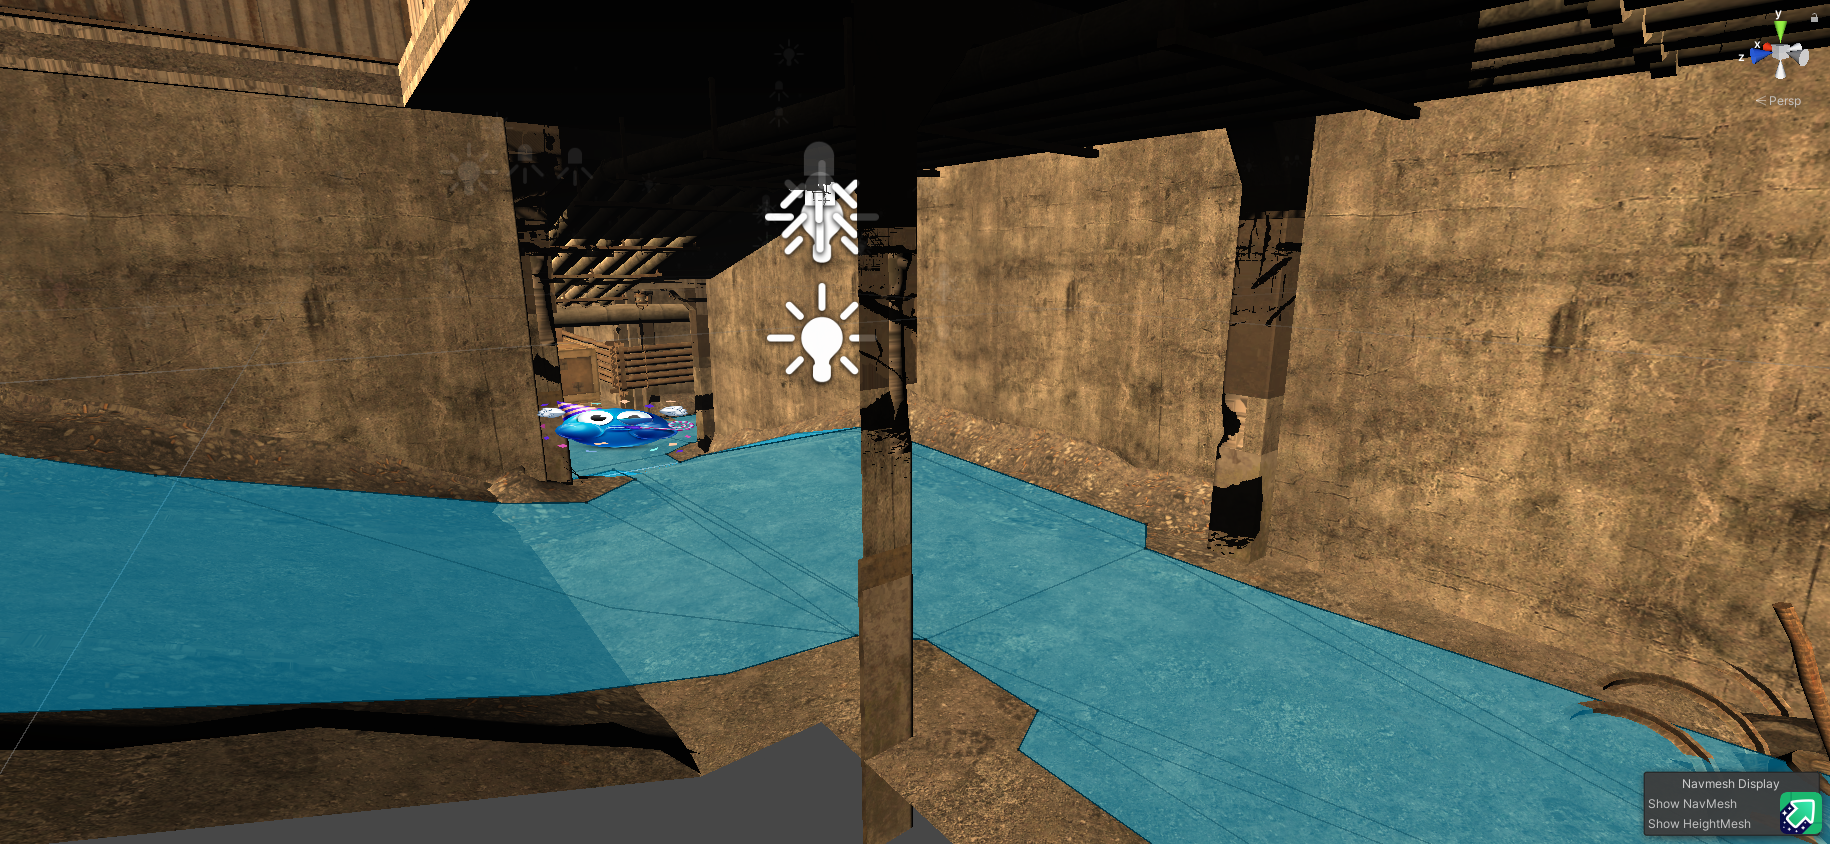
Obtaining pathfinding data #
Doing this is honestly more trivial than you would expect it to be. For getting our path data, we’re going to run a separate unity instance (as seen in this post) with the Factory map loaded.
How do you get the map? I was asking the same question. I ended up using a few informational pieces from DrakiaXYZ on GitHub to achieve this. Taking a look at this document, it details everything we need to do to extract the map. I got confused on which level files were required when I read that “extract all level files for the target map”, but it turns out that finding these level files is also trivial as a list of all maps and their used level files is compiled here. The level files can be found in EFT/EscapeFromTarkov_Data on disk. From there simply continue through the guide, following the steps and using the Asset Ripper tool. For your Unity installation, I’d recommend using version 2019.4.39f1 (I’m not 100% confident it’s required, but better safe than sorry).

[BINARYNAME].exe -batchmode -nographics
The batchmode and nographics flags are self-explanatory but further documented here.
The next step is programmatically getting our pathfinding data and communicating it back to our script. To do this, I used this function to get the pathfinding points
public Vector3[] CalculatePath(Vector3 startpos, Vector3 endpos)
{
    NavMeshPath path = new NavMeshPath();
    if (NavMesh.CalculatePath(startpos, endpos, NavMesh.AllAreas, path))
    {
        return path.corners;
    }
    return null;
}
this function to communicate with the Python script
void Update()
{
    if (File.Exists(signalFilePath))
    {
        string firstLine;
        using (StreamReader reader = new StreamReader(commFilePath))
        {
            firstLine = reader.ReadLine();
        }

        if (firstLine != null && firstLine.StartsWith("path"))
        {
            string[] parts = firstLine.Split(' ');
            string datareturn = "";
            if (parts.Length == 2)
            {
                string[] coordinates = parts[1].Split(',');
                if (coordinates.Length == 6)
                {
                    Vector3 from = ParseVector3(coordinates, 0);
                    Vector3 to = ParseVector3(coordinates, 3);
                    Vector3[] path = CalculatePath(from, to);
                    if (path == null) {
                        datareturn = "nopath";
                    } else {
                        List<float[]> pathArray = new List<float[]>();
                        foreach (Vector3 point in path)
                        {
                            pathArray.Add(new float[] { point.x, point.y, point.z });
                        }

                        StringBuilder csvBuilder = new StringBuilder();
                        foreach (float[] point in pathArray)
                        {
                            csvBuilder.AppendLine(string.Join(",", point));
                        }
                        datareturn = csvBuilder.ToString();
                    }
                }
            }
            using (StreamWriter writer = new StreamWriter(commFilePath))
            {
                writer.WriteLine(datareturn);
            }

            File.Delete(signalFilePath);
        }
    }
}
and this Python script to send and receive commands to the unity instance.
def SendCommand(command):
    f = open(commfile, "w")
    f.write(command) # Write data to the file
    f.close()
    f = open(signaltocommfile, "w") # Create a signal file to notify unity
    f.close()
    while True:
        if not os.path.exists(signaltocommfile):
            f = open(commfile, "r")
            data = f.read()
            f.close()
            return data
If it isn’t clear from the code, I decided against doing a full communication solution (such as sockets) as I decided it was “overkill” (I was lazy), so I simply communicate via a signal file and data file in the user’s temp directory.
With this you should now be able to call the SendCommand function in Python with the path command (formatted as path x1,y1,z1,x2,y2,z2) and get back our pathfinding points in csv format!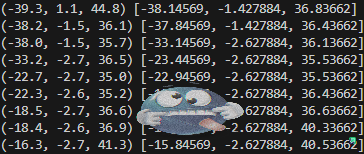
Using pathfinding data #
Now we have our path, and a way to get our player’s position. From here, all we need to do is move from position to position. First, we need to know our turn speed, or the ratio of pixel movement to angle change. But, we are faced with a problem. Getting accurate angle data is not possible. Why? Because localRotation is truncated down to the first decimal place (-1.0 to 1.0) and
in other words, you can know your view angle with +/- 18 degrees of precision. -harakirinox This means we can’t just move our mouse once and get our angle change as the inaccuracy means we can get an invalid result. I personally used a system of turning 30 times, a random amount of pixels, getting the angle change / pixel change and then getting the mean of all 30 turns. This returns the same result down to ~the hundredths place, which should be accurate enough.
def MeasureTurnSpeed(checks=40):
    previousview = GetPositionAndView()["view"]
    changes = []
    mousemoves = []
    for _ in range(0, checks):
        randommove = random.randint(10, 50)
        InputManager.MouseMove(randommove, 0)
        time.sleep(0.1)
        view = GetPositionAndView()["view"]
        diff = view - previousview
        #Handle wrap around
        if diff < -180:
            diff += 360
        elif diff > 180:
            diff -= 360
        changes.append(diff / randommove)
        previousview = view
        mousemoves.append(randommove)
    for i in range(0, len(mousemoves)):
        InputManager.MouseMove(-1 * mousemoves[i], 0)
        time.sleep(0.2)
    return np.mean(changes)
This function will return the angle change per pixel, which can in turn be used like so
InputManager.MouseMove(angledifference / turnspeed, 0)
Now we can turn confidently to any angle (click to load the video)
For this video, I used this small scriptturnspeed = EFT.MeasureTurnSpeed()
print("Turnspeed: " + str(turnspeed))
time.sleep(2)
InputManager.MouseMove(90 / turnspeed, 0)
time.sleep(2)
InputManager.MouseMove(-90 / turnspeed, 0)
From here you should have every piece you need to get your pathfinding working! Just send a command to the Unity client (with the current player’s position found from the screenshot name) and the coordinates to whatever extract you want to use. From there, loop over each pathfinding point, get the angle required to get to that position, and rotate/walk to that position while constantly checking your current position against your final point. I also implemented some helper functions myself such as rerouting back onto course in case of an interruption, but you, the reader, can imagine how that works. After all of that effort you should finally get to this result! (click to load the video)
Note: this video is outdated, and I have since then fixed the clearly visible problems such as cutting corners too close (more room for error helps with success rate), and the random turning back and forth. Another note: I had trouble with my GetAngle function (function to get the angle between two points) as you need to subtract your result from 90 otherwise you will get the incorrect result.
def GetAngle(x1, y1, x2, y2):
    angle = math.degrees(math.atan2(y2 - y1, x2 - x1))
    angle = 90 - angle
    if angle < 0:
        angle += 360
    return angle
Conclusion #
I’ve also added other features such as item recognition using OpenCV templates in the post raid inventory page, and auto fleamarket listing for more expensive items, which I hope to detail in separate posts.